Lego sorting machine imaging system
The Lego sorting machine is based on image recognition, therefore it needs images of the Lego parts to be sorted, in order to identify them (did I need to say that?).
Camera, take 1
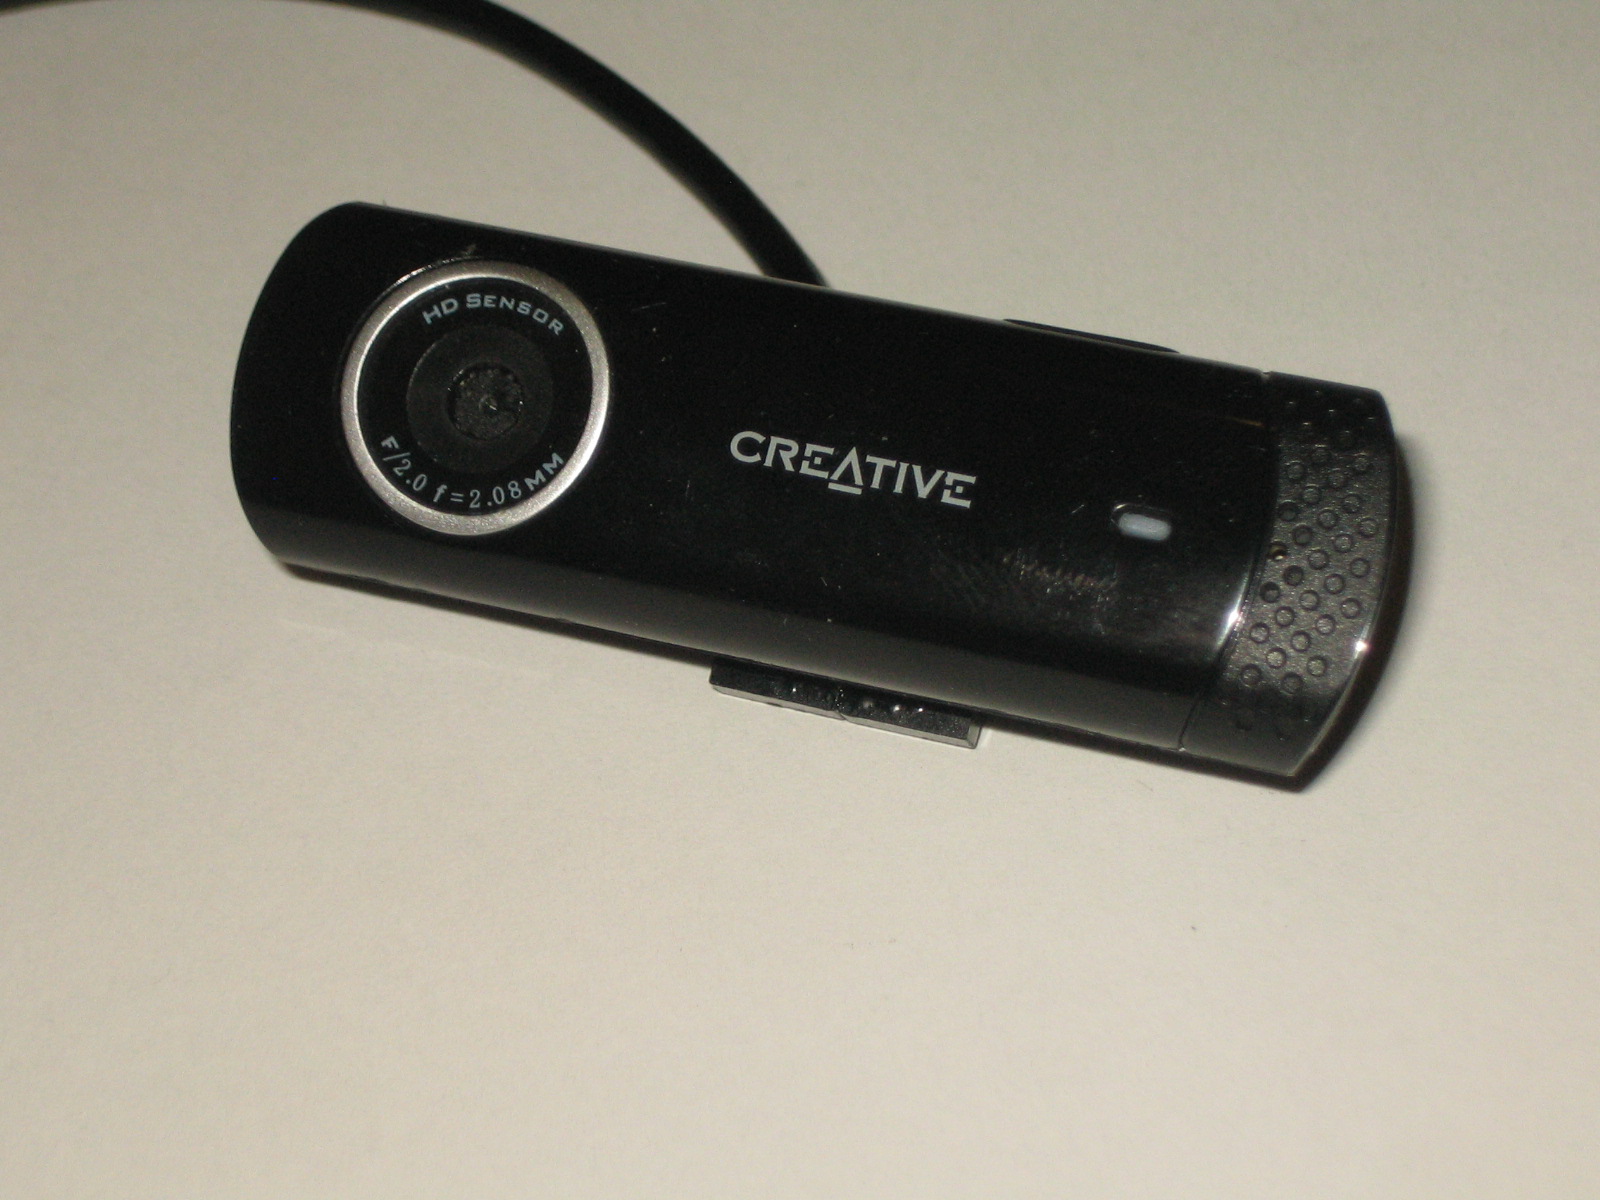 The first design of the machine (which, at the time of writing, is the only design) is based on two Creative Live Chat HD webcams. In fact only one (viewing parts from above) is being used for the time being, because the other (viewing parts from the side) has turned out not to be necessary for measuring the height of objects, so unless I find a reason that the machine needs to see the shape of them from the side as well as from above, I'm not going to add the complexity of analysing two images of the same part at the same time.
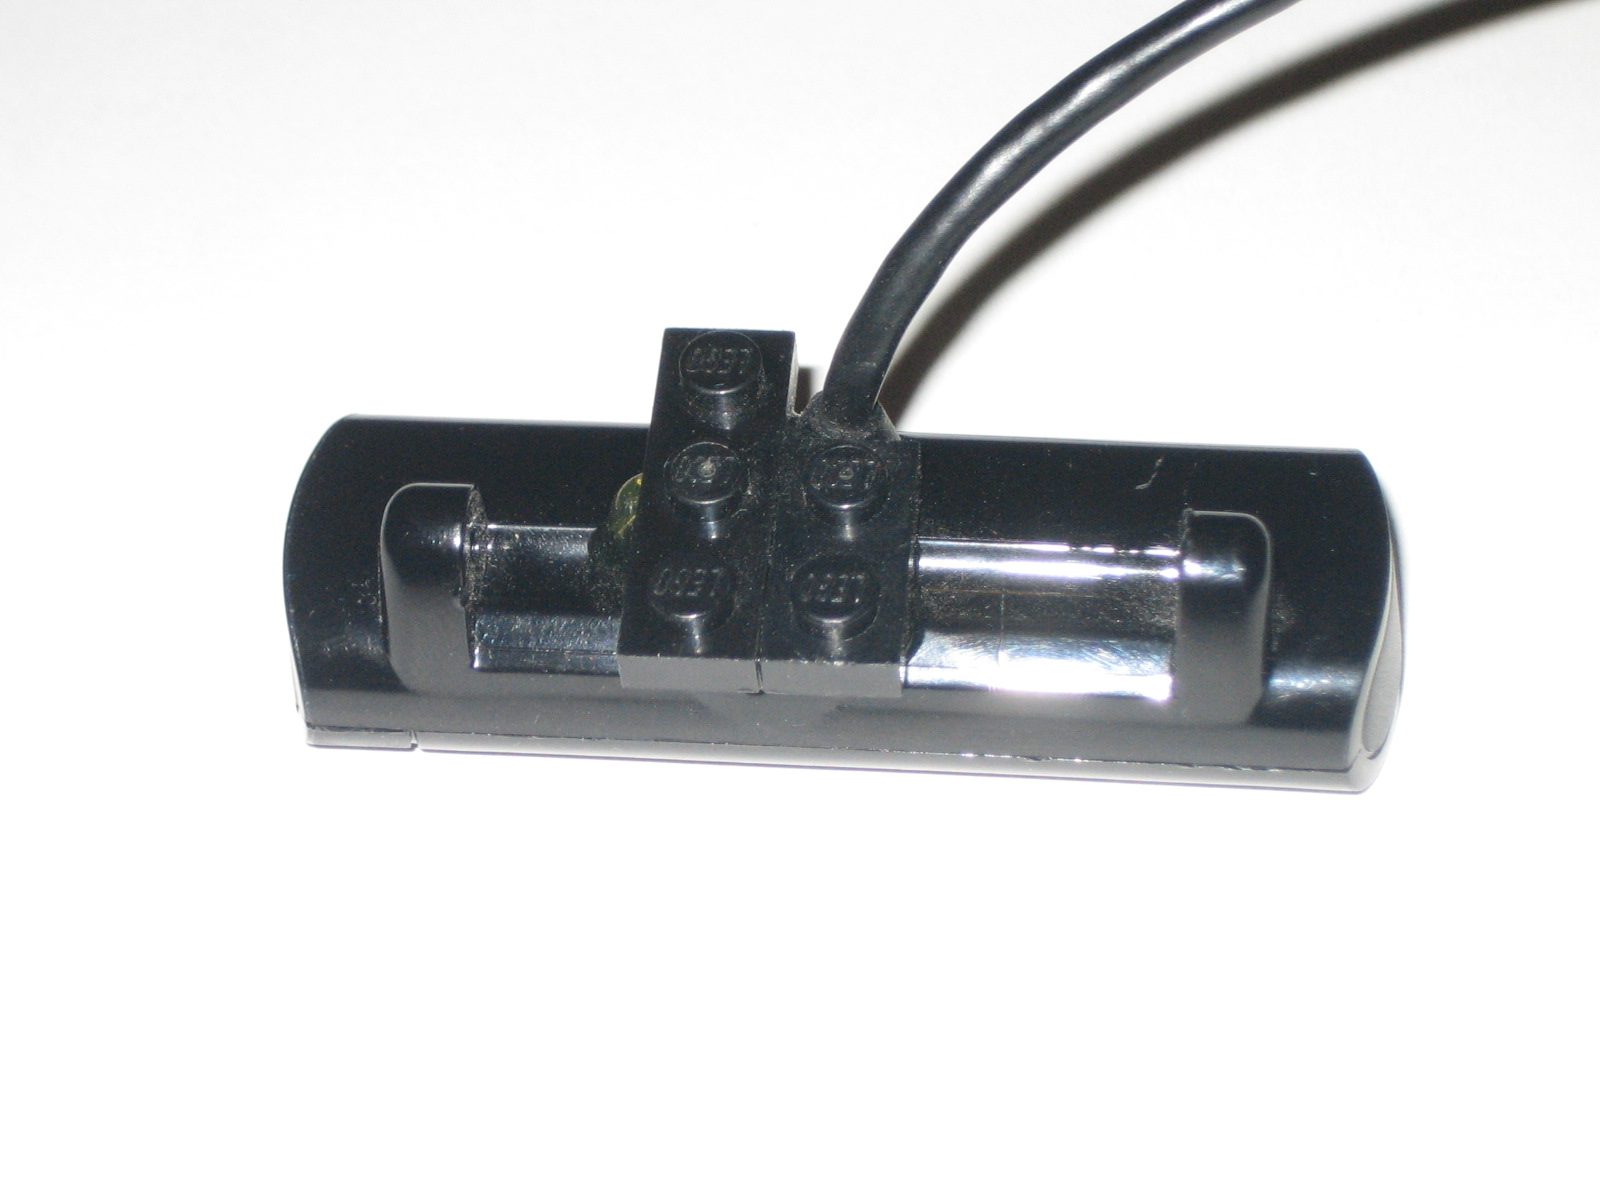 I've removed the "stand" from the Creative cameras, and instead glued two Lego plates to the back, so that the cameras can easily be mounted on a Lego construction.
These cameras are specified to have a 1280 x 720 pixel image sensor (so, ~1M pixels, "720p" resolution), and I thought that would be a good enough image size for differentiating Lego parts.
However, they are webcams, and that means a certain amount of cheapness has been employed when it comes to the lens.
Webcams are usually associated with moving objects (video streams), and the quality of individual frames isn't necessarily as important in this scenario as when you're trying to take fixed, focused, good quality pictures of things.
These particular webcams are specified as being "fixed focus", and for a webcam, that basically means anything beyond 1 (or maybe 1.5) metres should be in focus. The lens does have a spectacularly small orifice (the circle you see on the front of the housing is not the lens - it's simply a flat piece of protective material a few mm in front of the lens itself, which is attached to the imaging sensor on the PCB inside), so I'm guessing that image quality has been sacrificed for depth of field, making them very convenient to use as webcams, pointing at things located anywhere from 80cm upwards from the camera.
That doesn't necessarily mean they're the best choice when it comes to getting good quality images of objects located 5-30cm from the lens (which is what I was looking for in this project), so I prised the casing open with a penknife and identified that the lens is in fact mounted onto the camera body (by which I mean the light-sensitive silicon chip housing, approximately 5mm square and 3mm thick, mounted on the PCB) with a screw thread, so provided you can find some way of getting a grip on the lens surround, you can adjust the focus of the camera for other purposes. A large pair of tweezers did the job for me, and I adjusted the focus so that objects much closer to the camera produced decent images.
Unfortunately I did this two years ago and didn't take any photographs of the inside of the camera, so unless I bother to open one again and photograph it to put some pictures of the inside here, you'll just have to make do with the description above.
Camera, take 2
More recently (sufficiently recently that I haven't tried building it into the delta robot yet), and inspired by Jacques Mattheij's Lego sorting machine, I decided to try a different type of camera - in fact one which I had considered quite some time ago, but because it is sold as a "microscope" I had dismissed for this type of application, since I didn't want to have to get that close to the parts I'm trying to identify.
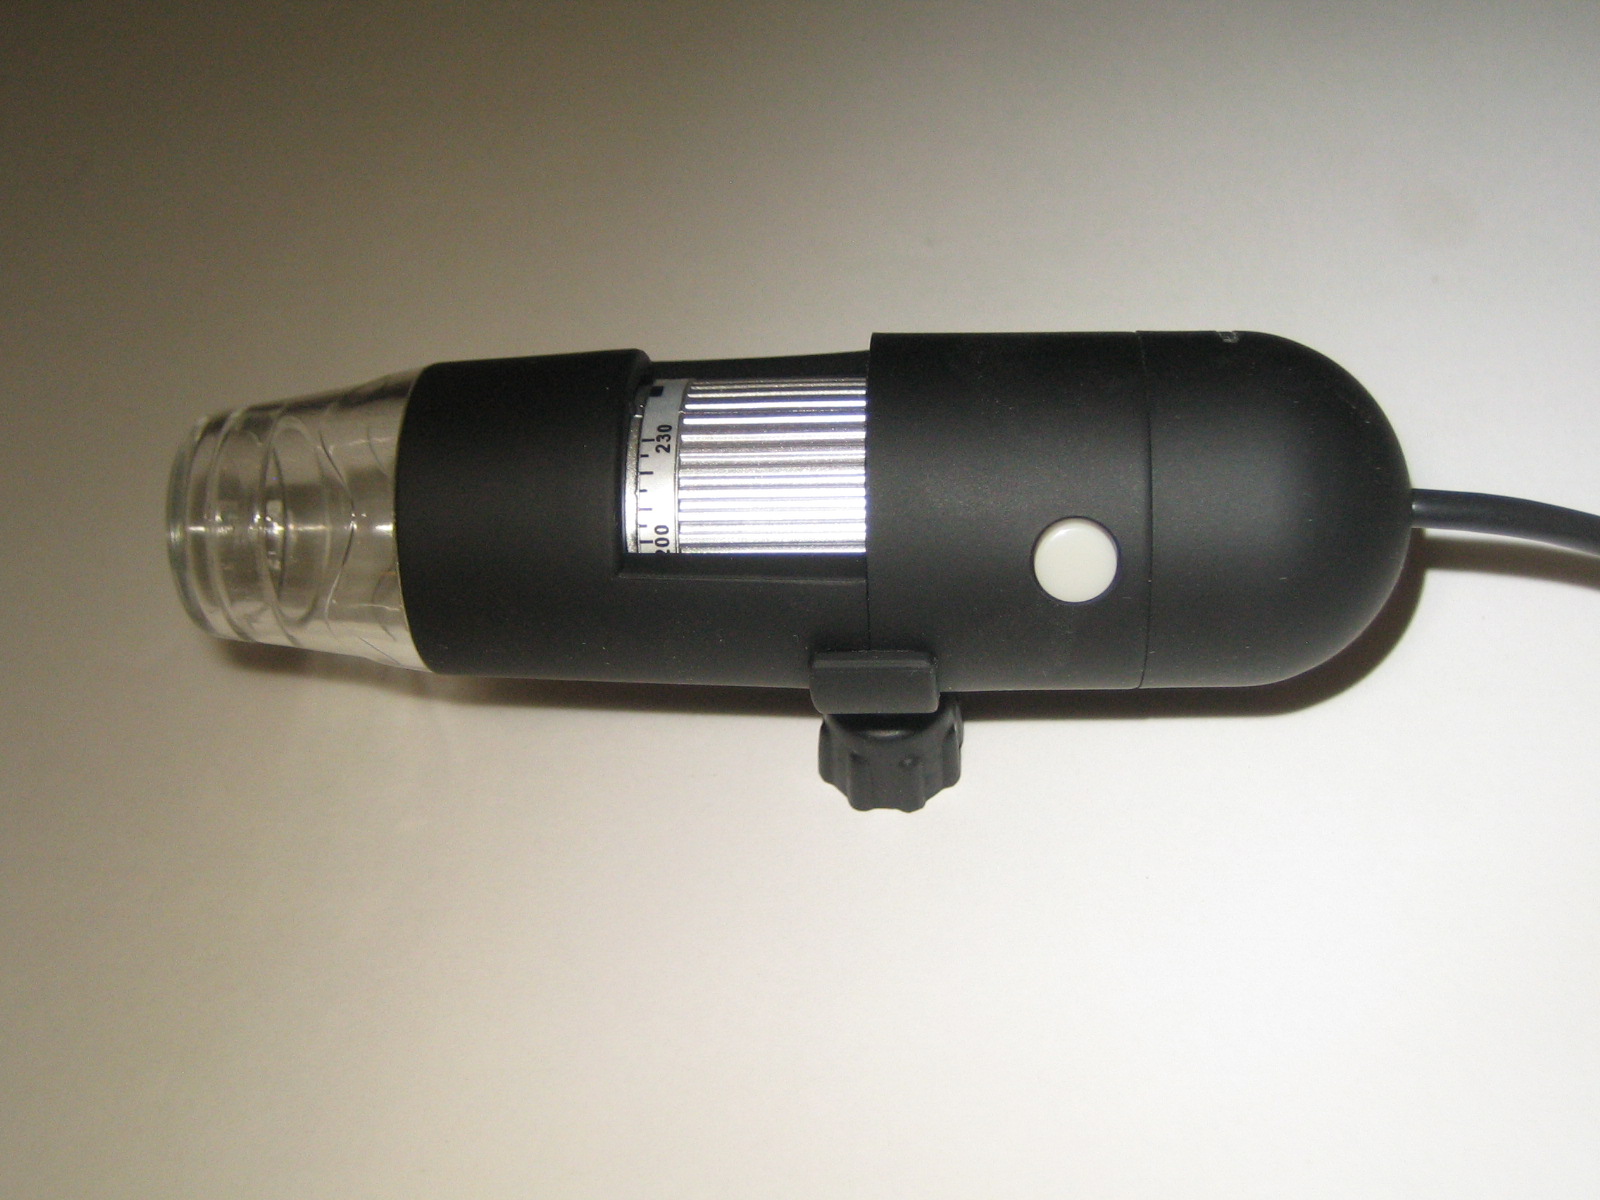 In fact, the description "microscope" (and for that matter "zoom 20-200") is entirely misleading. This camera can indeed zoom in to objects by 20x to 200x, but only in combination with adjusting the focus, therefore things close to the camera (such as touching the end of the clear plastic lens / LED illumination protector) are magnified approximately 20x when they're in focus, and objects far away ("infinity" as far as the camera is concerned, but 2+ metres in reality) are magnified by about 200x.
What you can't do is adjust the magnification of an object which is a fixed distance from the camera, You adjust the "magnification" setting on the camera to bring the object into focus, and then that's the magnification you've got. If you want more magnification, move the object further away (which kinds of defeats the purpose, I think); if you want to move the object closer, reduce the magnification…
I'm pretty sure this is some variation on "it's either very very small or it's far far away", but the upshot is that you can't independently adjust the focus and the magnification, so the "zoom level" is directly linked to how far away the object is from the camera (or vice versa…).
The imaging sensor of this camera is 2Mpixels, which means it will provide 1600 x 1200 pixel pictures, and in limited tests so far, the lens quality seems to be a lot better than the Creative webcam.
The depth of field is a lot smaller than the Creative webcam, but as I said above, I think that's because of the compromise on lens quality with the webcam - you can get medium-quality images of parts from quite a range of distances away, whereas with the "microscope" camera, you can get much better pictures, but only if the parts are the correct distance from the camera, according to its focus/zoom setting.
I don't yet know whether (assuming I adopt the microscope camera for the sorting machine) this means that:
- the camera will need to be mounted a fixed distance from the viewing platform
- the delta robot will need to have some way of adjusting the focus on the camera
- I need two cameras (one high, one low) and a much simpler X-Y (without Z) mechanism for moving either the lower one (because it's trying to get a bigger image of the part) or both (because I want to compare the parallax on two images, both from directly above)
Given the nature of building DIY Lego creations, I may have to decide to abandon the delta robot for moving the camera around (I hope I can find an alternative use for it, maybe to pick up and distribute the sorted parts later?) and use a different method of imaging the parts as they fall on the viewing platform conveyor belt.
I'll post some example pictures (of Lego parts) which these cameras produce soon.
PS: I have also considered the idea of using a flatbed scanner as the underside of the viewing platform, so that I have a view of the parts from both above and below (the scanner image would be really high resolution compared to any camera, although it would also be quite slow). I'm not yet convinced about the benefits of the image quality / speed tradeoff, however. It's also surprisingly difficult to see the holes in Lego pieces when you do it this way, because the scanner simply sees black (no matter what ambient illumination there may be) where there is nothing on the scanner glass to image, and it would be "challenging" (to use an engineering term) to get a laptop backlight installed inside a scanner, underneath the scanner imaging mechanism for an overhead camera to get a view of the holes (methinks the simplest and most direct approach would simply be to replace the bottom surface of the scanner housing with the laptop backlight panel). Anyway, food for thought for future design variants…
Go up
Return to main index.